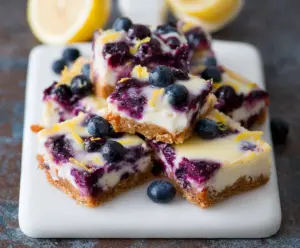
These Raspberry Lemon Cheesecake Bars are a tasty treat! With a creamy filling, bright lemon, and sweet raspberries, they’re perfect for warm days or any sweet tooth.
Every bite makes my taste buds dance, especially when there’s a burst of raspberry! I love serving these bars chilled; they’re super refreshing and sure to impress family and friends!
Ingredients & Substitutions
Graham Crackers: These give a nice crunch and flavor for the crust. If you don’t have them, you can use crushed digestive biscuits or Golden Oreos for a sweeter twist.
Cream Cheese: Make sure it’s softened for easy mixing. If you’re looking for a lighter option, you can try Neufchâtel cheese, which has less fat but is still creamy.
Sour Cream: This is optional but gives a creamier texture to the cheesecake filling. You can substitute it with Greek yogurt if it’s not on hand; it works great too!
Raspberries: Fresh ones are best, but frozen can work just fine. Just remember to thaw and drain them first. You can swap with strawberries or blueberries if you prefer a different flavor.
Granulated Sugar: For a healthier alternative, you can use coconut sugar or honey. Just note that honey will add a unique flavor!
How Do I Make Smooth Cheesecake Filling Without Lumps?
Smooth cheesecake filling is key! To achieve that, start with softened cream cheese. It makes mixing easier and helps avoid lumps. Here’s how to do it right:
- Beat the cream cheese alone first until smooth before adding any sugars or eggs.
- When adding eggs, mix them in one at a time and ensure each one is fully incorporated.
- Add lemon juice and zest after the eggs for even mixing.
Mix on low speed to avoid too much air, which can lead to cracks during baking. Less air is better for a creamy texture!
How to Make Raspberry Lemon Cheesecake Bars
Ingredients You’ll Need:
For The Crust:
- 1 1/2 cups graham cracker crumbs
- 1/4 cup granulated sugar
- 1/2 cup unsalted butter, melted
For The Lemon Cheesecake Filling:
- 16 oz (450g) cream cheese, softened
- 3/4 cup granulated sugar
- 2 large eggs
- 1/4 cup fresh lemon juice (about 1-2 lemons)
- 1 tbsp lemon zest
- 1 tsp vanilla extract
- 1/4 cup sour cream (optional, for added creaminess)
For The Raspberry Layer:
- 2 cups fresh or frozen raspberries
- 1/3 cup granulated sugar
- 1 tbsp fresh lemon juice
- 1 tbsp cornstarch mixed with 1 tbsp water (slurry, for thickening)
For Topping:
- Powdered sugar, for dusting
How Much Time Will You Need?
Expect about 20 minutes for prep work, plus 45-50 minutes for baking and cooling, followed by at least 3 hours in the fridge to set. For the best results, aim to keep them in overnight if you can. So, mark your calendar for a total prep time of about 4 hours!
Step-by-Step Instructions:
1. Prepare the Crust:
First, preheat your oven to 350°F (175°C). In a medium bowl, mix the graham cracker crumbs, granulated sugar, and melted butter until the crumbs feel moistened. Grab a greased 9×9 inch square baking pan and press this mixture firmly into the bottom. Bake for 8-10 minutes, just until it’s lightly golden. Take it out of the oven and let it cool slightly.
2. Make the Lemon Cheesecake Filling:
In a large bowl, use an electric mixer to beat the softened cream cheese until it’s smooth and creamy. Next, add in the sugar and blend well. Crack in the eggs one at a time, ensuring each one is mixed in fully before adding the next. Finally, mix in the fresh lemon juice, lemon zest, vanilla extract, and sour cream (if you’re using it) until everything is nicely combined. Set this filling aside for now.
3. Prepare the Raspberry Layer:
Grab a small saucepan and over medium heat, combine the raspberries, sugar, and lemon juice. Cook while stirring occasionally for about 5 minutes, until the raspberries break down and it starts to simmer. Stir in the cornstarch slurry and keep cooking for another 1 to 2 minutes until it thickens. Once thickened, remove from the heat and let it cool a bit.
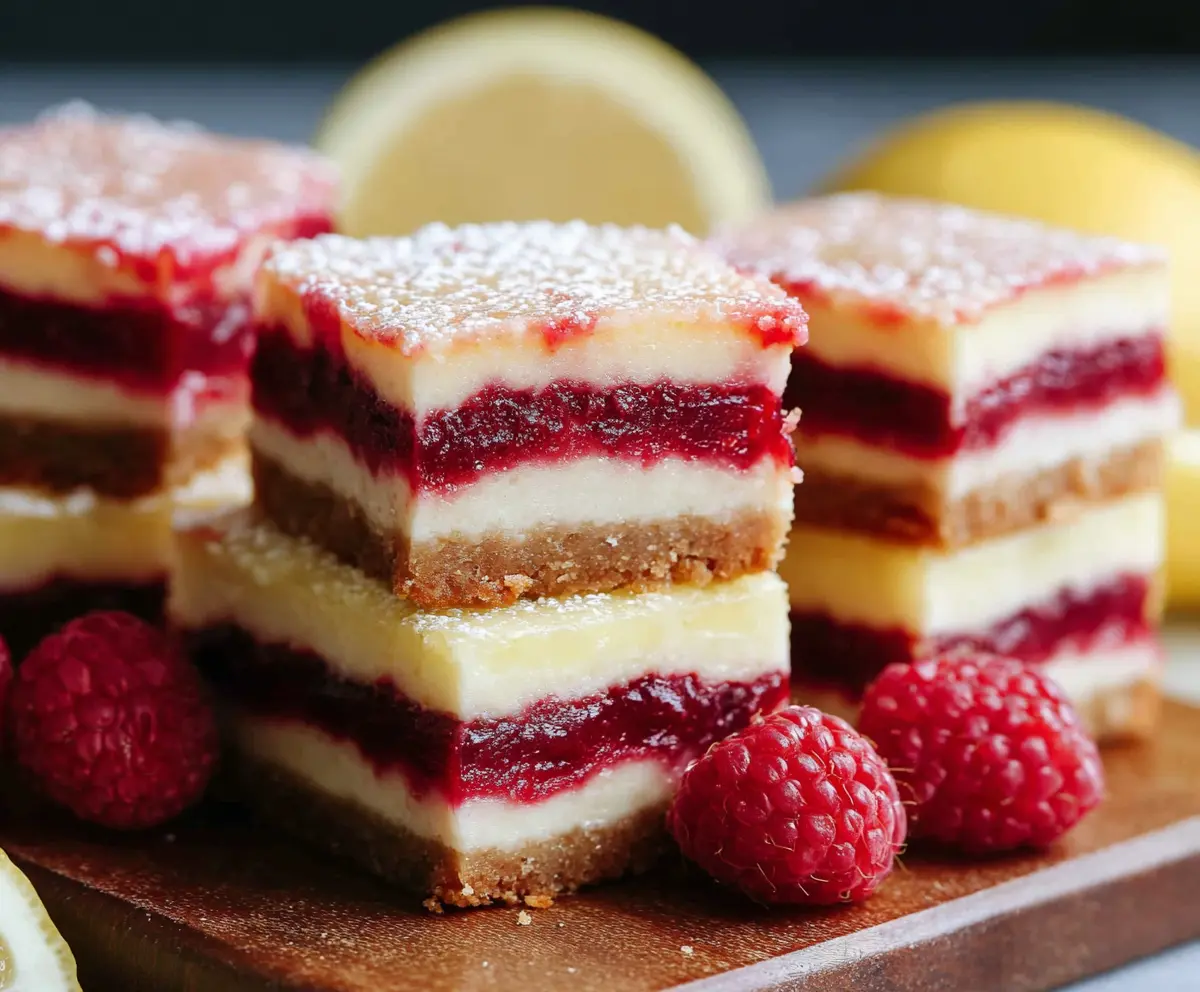
4. Assemble the Bars:
Pour half of the lemon cheesecake filling onto your cooled crust, spreading it out evenly. Spoon the raspberry mixture over the cheesecake layer carefully, making it smooth. Now pour the remaining cheesecake filling on top of the raspberry layer; spread gently to cover without mixing the layers. A light tap on the counter will help settle it and release any trapped air bubbles.
5. Bake:
Adjust your oven temperature to 325°F (163°C) and bake for 35-40 minutes. Keep an eye on it; you want the edges to be firm while the center has a gentle jiggle. Once done, remove from the oven and let it cool completely at room temperature. For the best results, refrigerate it for at least 3 hours, preferably overnight. This helps everything set perfectly.
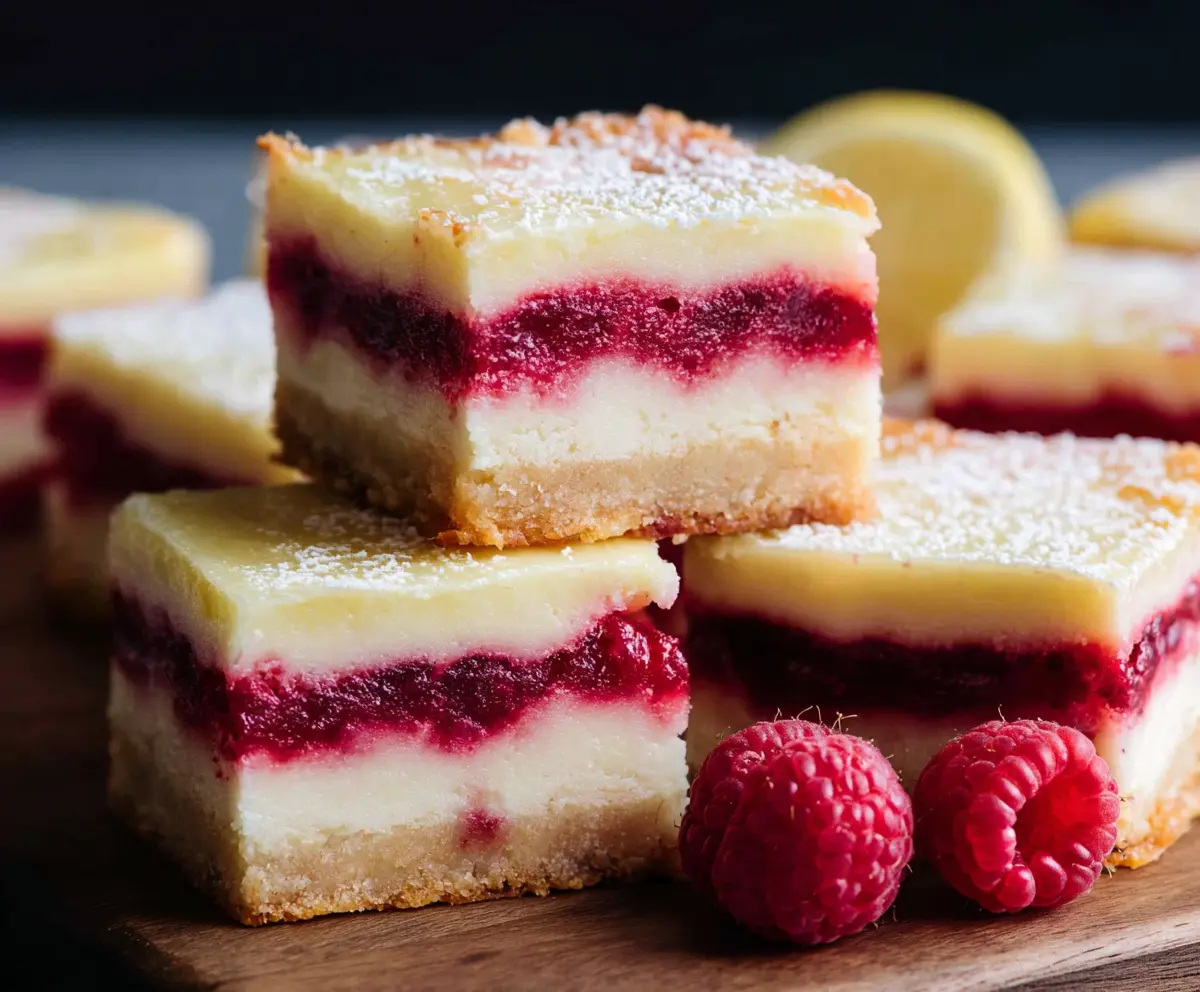
6. Serve:
When you’re ready to enjoy, cut the chilled cheesecake into squares. Dust with powdered sugar on top to add a sweet finish. Feel free to garnish with fresh raspberries and lemon slices for extra flair if you like!
Enjoy your delicious Raspberry Lemon Cheesecake Bars!
Can I Use A Different Type of Cookie for the Crust?
Absolutely! While graham crackers are traditional, you can use crushed Oreos for a chocolate twist or digestive biscuits for a more subtle flavor. Just make sure to adjust the sugar based on the sweetness of the cookies.
Can I Use Bottled Lemon Juice Instead of Fresh?
While fresh lemon juice offers the best flavor, bottled can be used in a pinch. Just be sure to get 100% pure lemon juice without additives for the closest taste to fresh!
How Long Can I Store Leftovers?
You can store any leftover cheesecake bars in an airtight container in the fridge for up to 5 days. They actually taste even better the next day as the flavors meld!
Can I Freeze Raspberry Lemon Cheesecake Bars?
Yes, you can freeze them! Wrap individual squares tightly in plastic wrap and then place them in a freezer-safe container. They’ll keep well for up to 3 months. Just thaw in the fridge overnight before serving!