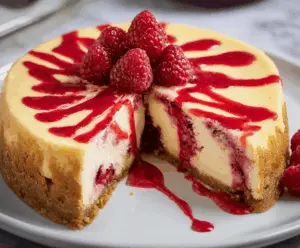
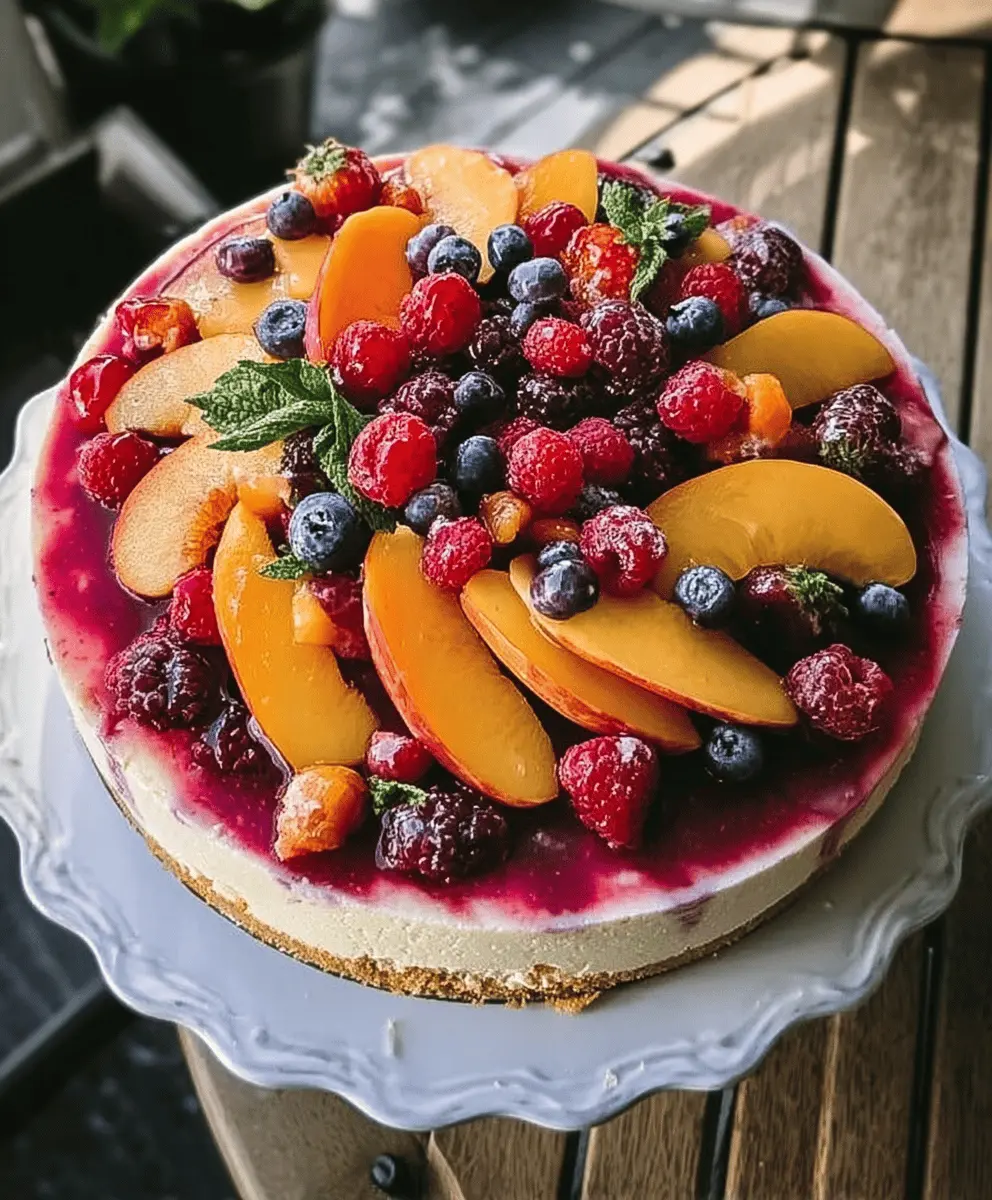
This Summer Berry and Peach Cheesecake is a bright and fruity treat! With creamy cheesecake and a colorful topping of fresh berries and peaches, it’s perfect for warm days.
Every bite feels like a taste of summer! I love serving it at gatherings, and honestly, leftovers never last long in my fridge—who can resist a slice of this joy? 🍑🍓
Key Ingredients & Substitutions
Graham Crackers: These create a tasty crust. If you can’t find them, you can use crushed biscotti or vanilla wafers instead. I enjoy using chocolate cookies for a twist!
Cream Cheese: The star of the cheesecake! For a lighter option, try low-fat cream cheese. If you’re dairy-free, there are good vegan cream cheese options available.
Sour Cream: This adds creaminess and a slight tang. Greek yogurt works well as a substitute. It brings similar texture with added protein!
Fresh Fruits: You can mix it up! Try using any seasonal fruits like blackberries, mangoes, or even a mix of citrus if you want a different flavor profile.
How Do I Ensure My Cheesecake Doesn’t Crack?
A smooth, crack-free cheesecake is the goal! Here are some steps to help you achieve that:
- Mix ingredients on low speed to avoid incorporating too much air.
- Use room temperature cream cheese for a smoother batter.
- Leave the oven door slightly open while cooling to prevent sudden temperature changes.
Following these tips will help keep your cheesecake looking beautiful and delicious!
How to Make Summer Berry and Peach Cheesecake
Ingredients You’ll Need:
For the Crust:
- 1 ½ cups graham cracker crumbs
- ¼ cup granulated sugar
- ½ cup unsalted butter, melted
For the Cheesecake Filling:
- 24 oz (3 packages) cream cheese, softened
- 1 cup granulated sugar
- 3 large eggs
- 1 tsp vanilla extract
- 1 cup sour cream
- 2 tbsp all-purpose flour
For the Fruit Topping:
- 1 cup fresh strawberries, sliced
- 1 cup fresh blueberries
- 1 cup fresh raspberries
- 2 fresh peaches, peeled and sliced
- 2 tbsp apricot jam (optional, to glaze the fruit)
How Much Time Will You Need?
This delightful cheesecake requires about 30 minutes of preparation time and approximately 1 hour for baking. Additionally, you’ll need to allow at least 4 hours (or preferably overnight) for chilling. So, plan for about 5 hours total from start to finish, most of which is just waiting time. Easy and worth the wait!
Step-by-Step Instructions:
1. Preheat the Oven:
Start by preheating your oven to 325°F (163°C). This temperature is perfect for baking your cheesecake nice and evenly!
2. Make the Crust:
In a medium bowl, mix together the graham cracker crumbs, granulated sugar, and melted butter until it’s nice and combined. Then, take that mixture and press it firmly into the bottom of your lightly greased 9-inch springform pan. This will create a delicious base for our cheesecake!
3. Prepare the Cheesecake Filling:
Now for the fun part! In a large mixing bowl, beat the softened cream cheese with an electric mixer until it’s smooth and creamy. Gradually add in the sugar while continuing to beat.
Next, add the eggs one at a time! Make sure to beat well after each addition. Then, mix in the vanilla extract, sour cream, and flour until everything is smooth and well blended.
4. Baking the Cheesecake:
Pour your scrumptious cheesecake filling over the crust in the springform pan. Pop it in the oven and bake it for about 55 to 65 minutes. You want it to be almost set, with a slight jiggle in the center!
5. Cooling Down:
Once it’s done baking, turn off the oven and let the cheesecake cool inside with the oven door slightly ajar for about 1 hour. This gradual cooling helps prevent cracks from forming.
6. Chill It Out:
After that hour, take the cheesecake out of the oven and chill it in the refrigerator for at least 4 hours, but overnight is even better!
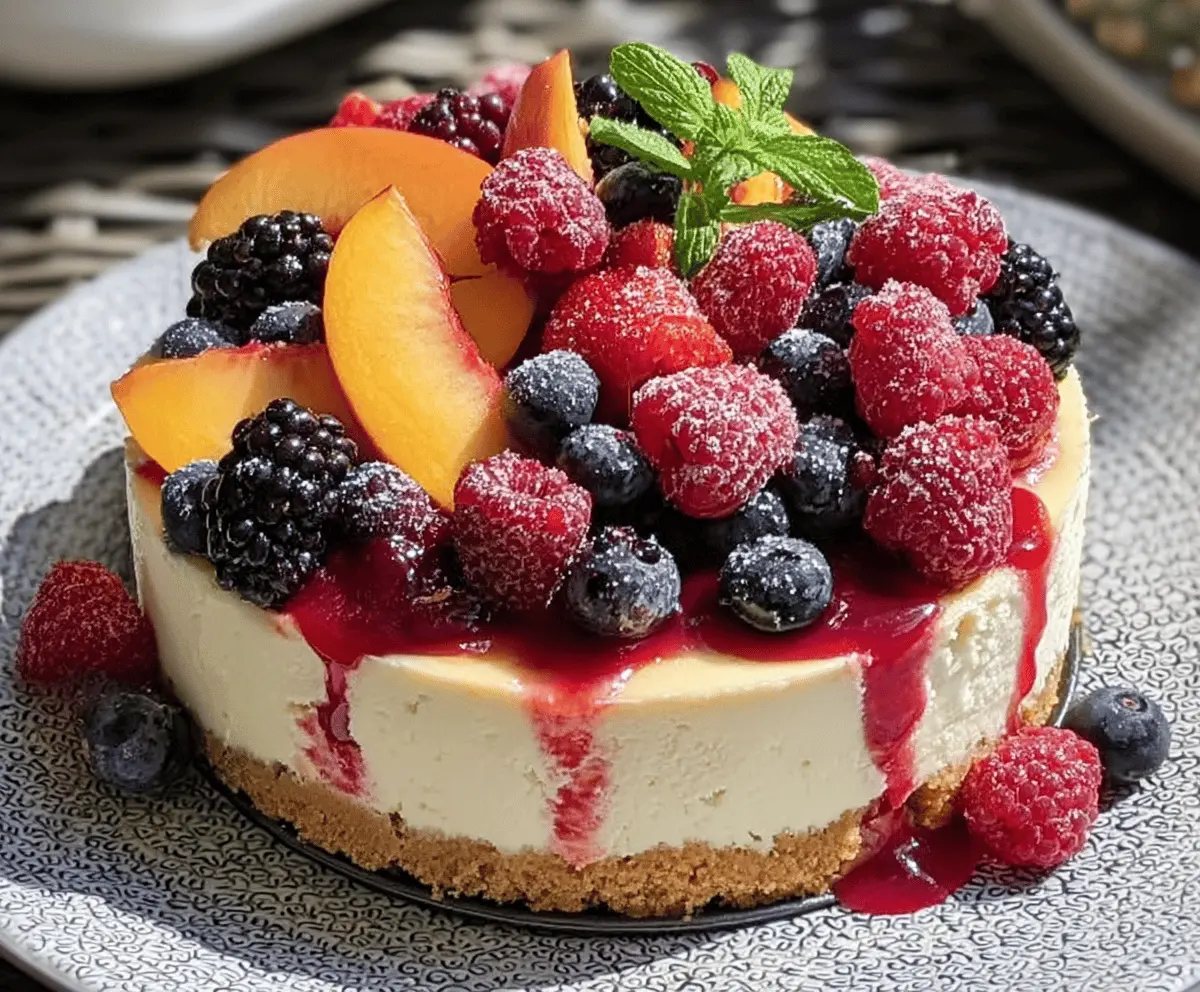
7. Adding the Fruit Topping:
Before you’re ready to serve, beautifully arrange the sliced peaches, strawberries, blueberries, and raspberries on top of the cheesecake. You can get creative here, making it look as pretty as possible!
8. Glazing (Optional):
If you want an extra shine and sweetness, warm some apricot jam gently in the microwave or on the stove. Then, brush it over the fruits to give them a lovely glaze!
9. Slice and Serve:
Time to enjoy your creation! Slice your cheesecake and serve it chilled. Every bite is a taste of summer goodness!
Can I Use a Different Type of Crust?
Absolutely! If you’re not a fan of graham crackers, you can use crushed Oreo cookies, vanilla wafers, or even a nut-based crust like almond flour mixed with butter for a gluten-free option.
Can I Make This Cheesecake Ahead of Time?
Yes! This cheesecake is perfect for making ahead. You can prepare it a day or two in advance. Just keep it tightly covered in the refrigerator until you’re ready to serve it, and add the fruit topping right before serving.
How Should I Store Leftovers?
Store any leftovers in an airtight container in the refrigerator for up to 3 days. To enjoy your cheesecake at its best, eat it cold.
Can I Use Frozen Fruits Instead of Fresh?
While fresh fruits are best for presentation and taste, you can use frozen fruits if that’s what you have on hand. Just make sure to thaw and drain them well to avoid adding excess moisture to the cheesecake.