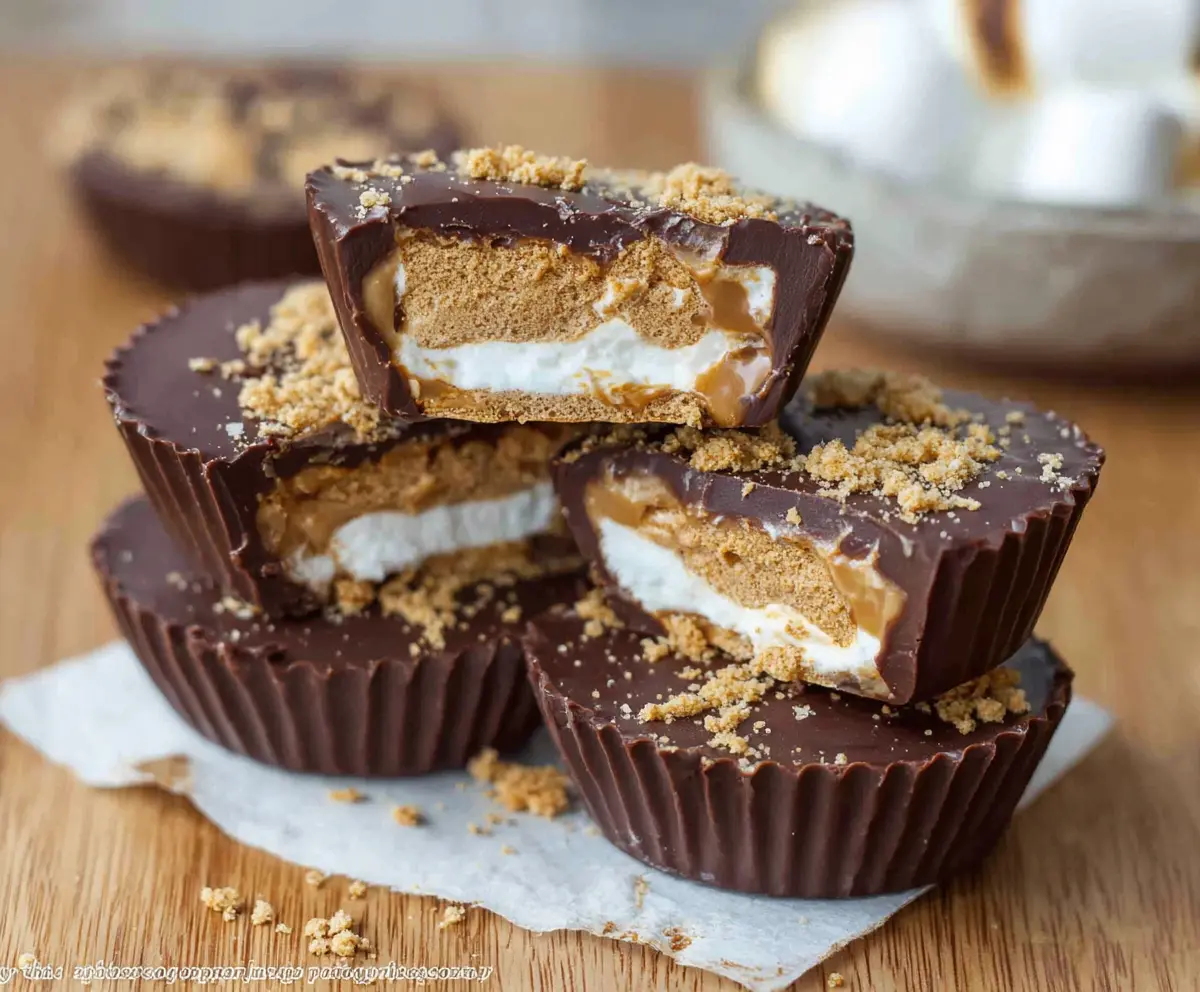
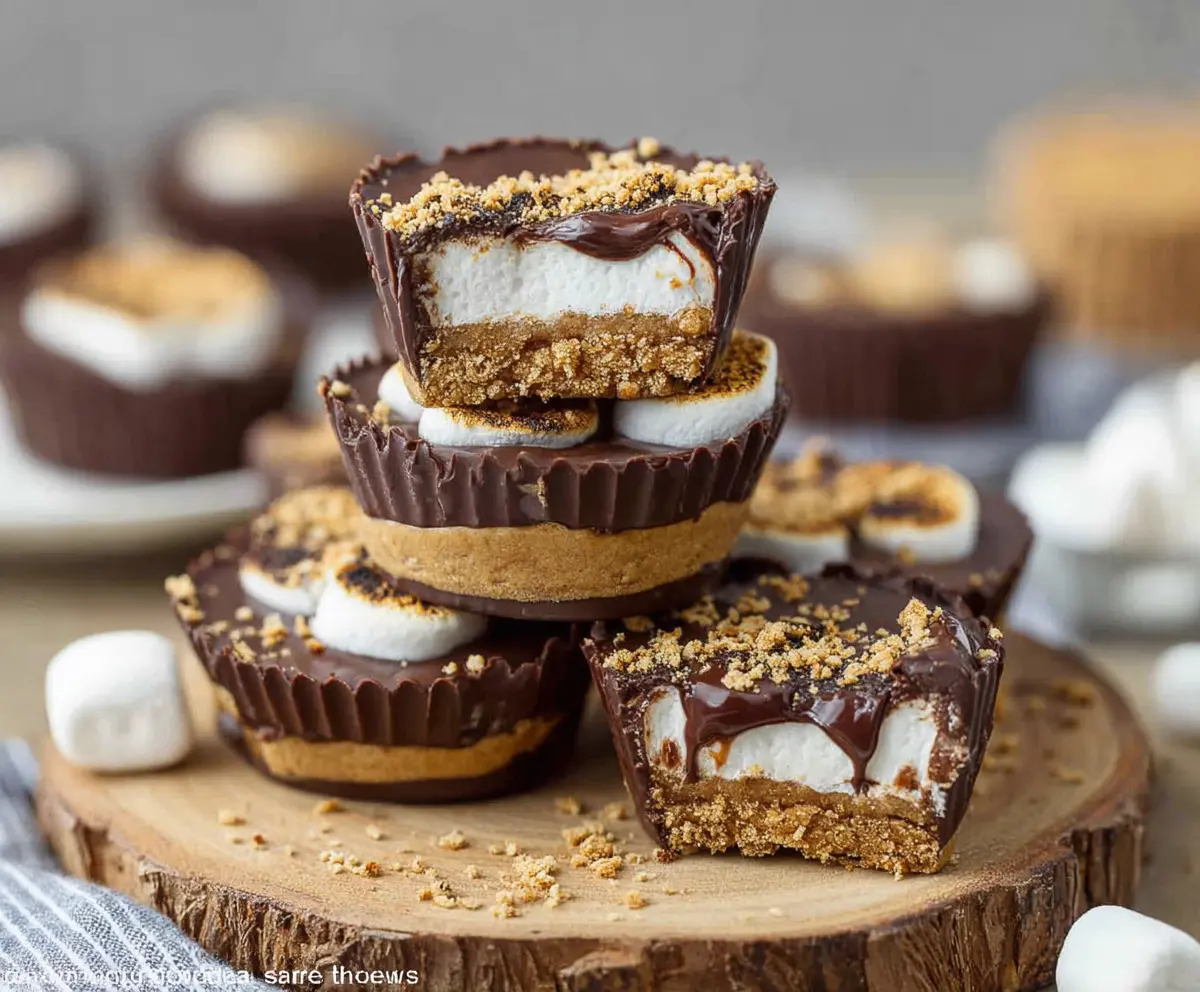
These S’mores Peanut Butter Cups are a fun twist on a classic treat! With creamy peanut butter, crunchy graham crackers, and gooey marshmallows, they combine all the best flavors in one bite.
Honestly, these little cups are perfect for any party—or just when you need a little pick-me-up. I love popping one in my mouth after dinner; it’s like camping memories wrapped in chocolate! 🍫
Key Ingredients & Substitutions
Semi-sweet chocolate chips: These are essential for that rich chocolate flavor. If you’re looking for a lighter option, you can use milk chocolate chips. Dark chocolate is also great for a more intense taste. Just ensure it’s good quality for the best results!
Marshmallows: Regular marshmallows work perfectly, but if you want a smoother filling, you can substitute with marshmallow fluff. It adds a lovely creaminess and is easier to spread.
Peanut butter: Creamy peanut butter is my go-to, but you can easily swap it for almond butter or sunbutter for nut-free versions. Just taste as you go since different nut butters can vary in flavor.
Graham crackers: These give that classic s’mores crunch. If you don’t have them, try digestive biscuits or even vanilla wafers. The flavor will change, but they can still be delicious!
How Do I Ensure My Chocolate Layer is Just Right?
Getting the chocolate layer just right is key to making these cups delicious. Here’s how to nail it:
- Always melt chocolate gently—30 seconds at a time, stirring in between helps prevent burning.
- Let the melted chocolate cool for a minute before pouring it into the liners; this helps prevent the peanut butter from melting.
- Spread the chocolate up the sides of the liner to create a shell that holds everything in. Don’t rush this step; a thin layer is enough for a sturdy cup!
By following these tips, you ensure that your S’mores Peanut Butter Cups have a delightful balance of textures and flavors! Enjoy making and sharing these treats!
How to Make S’mores Peanut Butter Cups
Ingredients You’ll Need:
For the Cups:
- 1 1/2 cups semi-sweet chocolate chips or baking chocolate
- 12 regular or jumbo marshmallows (or use marshmallow fluff)
- 1/2 cup creamy peanut butter (or to taste)
- 8-10 graham crackers, broken into pieces or large squares
- 1/4 cup graham cracker crumbs (for garnish)
- Optional: 1 tablespoon unsalted butter (to smooth peanut butter)
Estimated Time:
This recipe takes around 15 minutes to prepare and about 30 minutes to chill. The total time including the setting time is around 45 minutes. It’s a quick and easy treat to whip up, perfect for satisfying your sweet tooth!
Step-by-Step Instructions:
1. Prepare the Molds:
First things first, line a muffin tin with 8 to 10 cupcake liners—this is where your delightful cups will take shape. Set it aside for now!
2. Melt the Chocolate:
In a microwave-safe bowl, add the chocolate chips. Microwave them in 30-second intervals, stirring between each session until the chocolate is smooth and melted. Be careful not to overheat!
3. Form the Chocolate Base:
Spoon about 1-2 tablespoons of melted chocolate into the bottom of each cupcake liner. Use the back of a spoon to spread the chocolate around, covering the bottom and slightly up the sides. Now, pop the muffin tin into the freezer for about 10 minutes to set.
4. Add the Peanut Butter Layer:
While the chocolate is setting, warm your peanut butter slightly. This can make it easier to spread—mix in the optional butter if you like. Take about 1 tablespoon of peanut butter and gently spread it over the hardened chocolate base.
5. Add Marshmallows and Graham Crackers:
If you’re using whole marshmallows, cut them in half. Place one half on top of the peanut butter layer. Next, stack a piece of graham cracker right on top of that marshmallow. Get creative with the sizes – this is all about your preference!
6. Top with Chocolate:
Pour more melted chocolate over each cup, covering everything completely and making sure it reaches the sides of the liners. This layer holds all the yummy goodness together!
7. Garnish:
While the chocolate is still wet, sprinkle a little graham cracker crumbs on top for that finishing touch. It adds a nice crunch and looks delightful!
8. Chill:
Put the muffin tin back in the freezer or refrigerator and chill for at least 30 minutes, or until the chocolate is nice and firm. This step is crucial for easy removal!
9. Serve:
Once the chocolate has set, gently remove each peanut butter cup from the liner. Enjoy your delicious homemade treats! If you have any leftovers (which is rare!), store them in a cool place or in the fridge.
This recipe yields absolutely delicious, layered peanut butter cups that combine the best flavors of s’mores: rich chocolate, creamy peanut butter, fluffy marshmallows, and crunchy graham crackers—all in one delightful bite!
Can I Use Different Types of Chocolate for This Recipe?
Absolutely! While semi-sweet chocolate is recommended for that classic s’mores flavor, you can also use milk chocolate for a sweeter taste or dark chocolate for a richer flavor. Just remember to adjust the sweetness of the other ingredients if you opt for a dark chocolate!
How Should I Store Leftovers?
Store any leftover S’mores Peanut Butter Cups in an airtight container at room temperature for up to 3 days or in the fridge for up to a week. If the weather is warm, I recommend refrigerating them to keep the chocolate firm and prevent melting!
Can I Make These Ahead of Time?
Definitely! These cups can be made a day or two in advance. Just assemble them, store them in the fridge, and they’ll be ready to enjoy when you want them. Let them sit at room temperature for a few minutes before serving for the best texture.
What if I Don’t Have Cupcake Liners?
No problem! You can use silicone muffin molds or even grease the muffin tin with a bit of cooking spray to help release the cups after they set. However, using liners typically makes removal much easier!