I’ve been busy baking, and I’m excited to share two of my favorite sugar cookie recipes with you today! If you enjoy making beautiful and tasty sweet treats, you’re in for a real baking treat. I’ve got options for classic cookie shapes and something a little more fun for those special times.
These recipes are easy to follow and give you perfect cookies every time. Whether you’re new to baking or a seasoned pro, you’ll love how simple and rewarding these sugar cookie creations are. Let’s get baking!
Jump to Recipe:
Classic Roll Out Sugar Cookies for Baking Fun
These classic sugar cookies are simple and perfect for cutting into any shape you like. They hold their form well and taste wonderfully sweet, making them great for any holiday or party.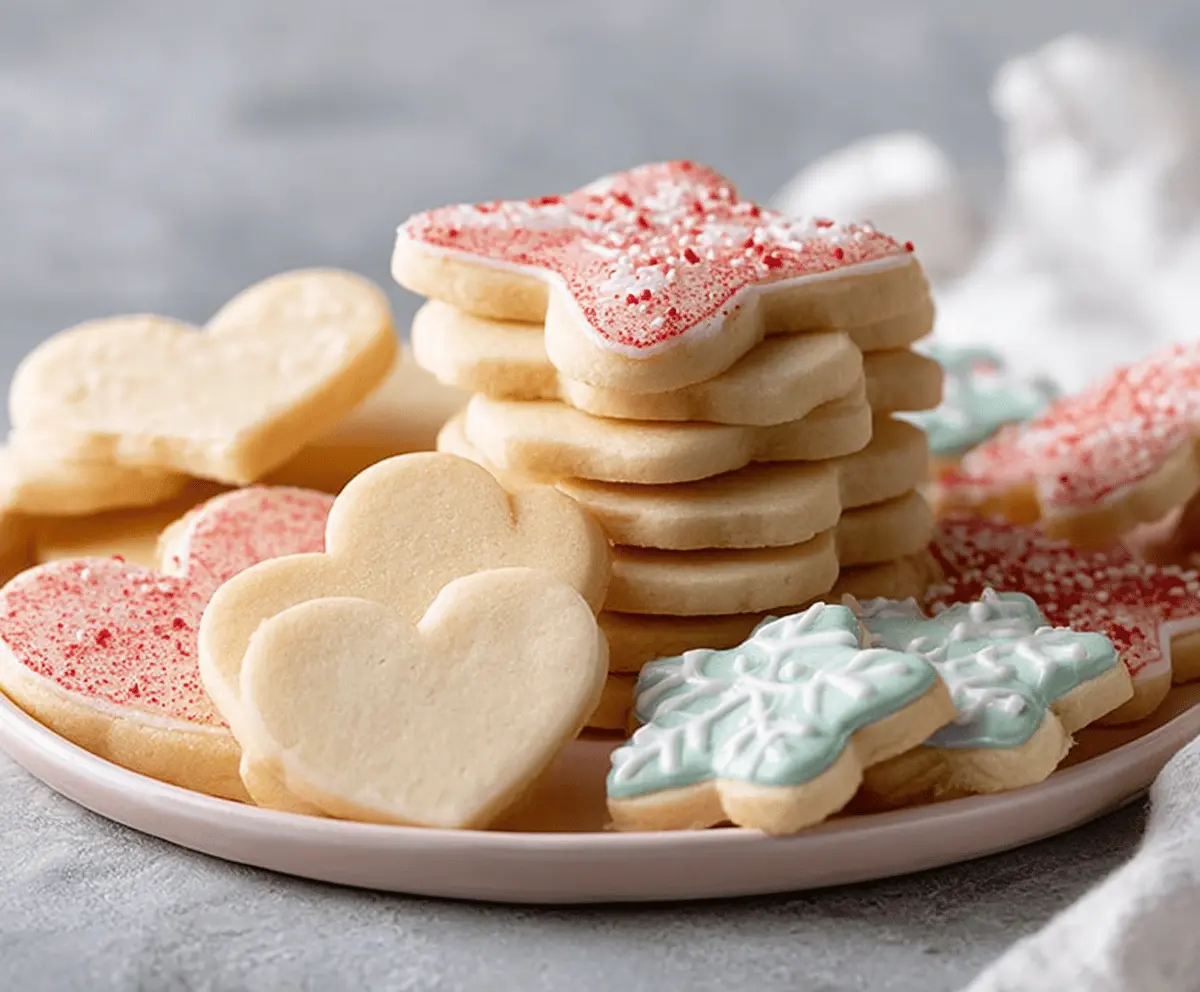
Key Ingredients & Tips
- Softened Butter: Use room temperature butter. It makes the dough smooth and easy to mix, giving you better cookies.
- Chill Time Matters: Don’t skip chilling the dough. This step helps the cookies keep their shapes when baking.
What You Need
- 2 ½ cups all-purpose flour
- 1 teaspoon baking powder
- ½ teaspoon salt
- 1 cup unsalted butter, softened
- 1 ½ cups granulated sugar
- 1 large egg
- 1 teaspoon vanilla extract
⏱️ Time: 1 hour 45 minutes🍽️ Yields: 2-3 dozen cookies
How to Make It
Step 1: Mix Dry and Wet Ingredients
In a medium bowl, whisk together the flour, baking powder, and salt. In a large bowl, beat the softened butter and granulated sugar with an electric mixer until light and fluffy. Beat in the egg and vanilla extract until everything is well combined.
Step 2: Combine Dough and Chill
Gradually add the dry ingredients to the wet ingredients, mixing on low speed until just combined and a soft dough forms. Divide the dough into two disks, wrap them in plastic wrap, and chill in the refrigerator for at least 1 hour, or until firm.
Step 3: Roll, Cut, and Bake
Preheat your oven to 375°F (190°C). On a lightly floured surface, roll out one disk of chilled dough to about ¼ inch thickness. Use cookie cutters to cut out shapes. Place cookies on baking sheets lined with parchment paper. Bake for 8-10 minutes, or until the edges are lightly golden. Let them cool on the baking sheet for a few minutes before moving to a wire rack to cool completely. Decorate as you like!
📝 Final Note
You can store these plain baked cookies in an airtight container at room temperature for up to 5 days, or decorated for 2-3 days.
Spooky Skull Sugar Cookies for a Treat
These skull sugar cookies are a fun way to celebrate. They use the same simple cookie dough base but get a special look with dark icing. These are sure to be a hit!
Key Ingredients & Tips
- Gel Food Coloring: Use gel food coloring for black icing. It gives a deep color without making your icing too runny.
- Piping Bags: Using piping bags with small tips helps make neat skull designs easier.
What You Need
- One batch of Classic Roll Out Sugar Cookies dough
- 2 cups powdered sugar
- 2-3 tablespoons milk (or water)
- ½ teaspoon vanilla extract
- Black gel food coloring
⏱️ Time: 2 hours🍽️ Yields: 18-24 cookies
How to Make It
Step 1: Prepare and Bake Cookies
Follow the instructions for the Classic Roll Out Sugar Cookies dough. Use a skull-shaped cookie cutter to cut out the shapes. Bake the cookies as directed until they are lightly golden. Let them cool completely on a wire rack before you start decorating.
Step 2: Make the Icing
In a medium bowl, whisk together the powdered sugar, milk, and vanilla extract until smooth. You want a thick but pourable consistency. If it’s too thick, add a tiny bit more milk; if too thin, add more powdered sugar. Divide the icing: keep most white, and tint a small amount black with gel food coloring.
Step 3: Decorate Your Skull Cookies
Use the white icing to flood the entire surface of each skull cookie. Let it dry completely for at least 1-2 hours, or until the icing is firm to the touch. Once dry, use the black icing in a piping bag with a small round tip to draw eyes, a nose, and mouth lines onto the skull cookies. Let the black icing set before handling.
📝 Final Note
For best results, let the decorated cookies dry overnight before stacking or storing them to prevent smudging.