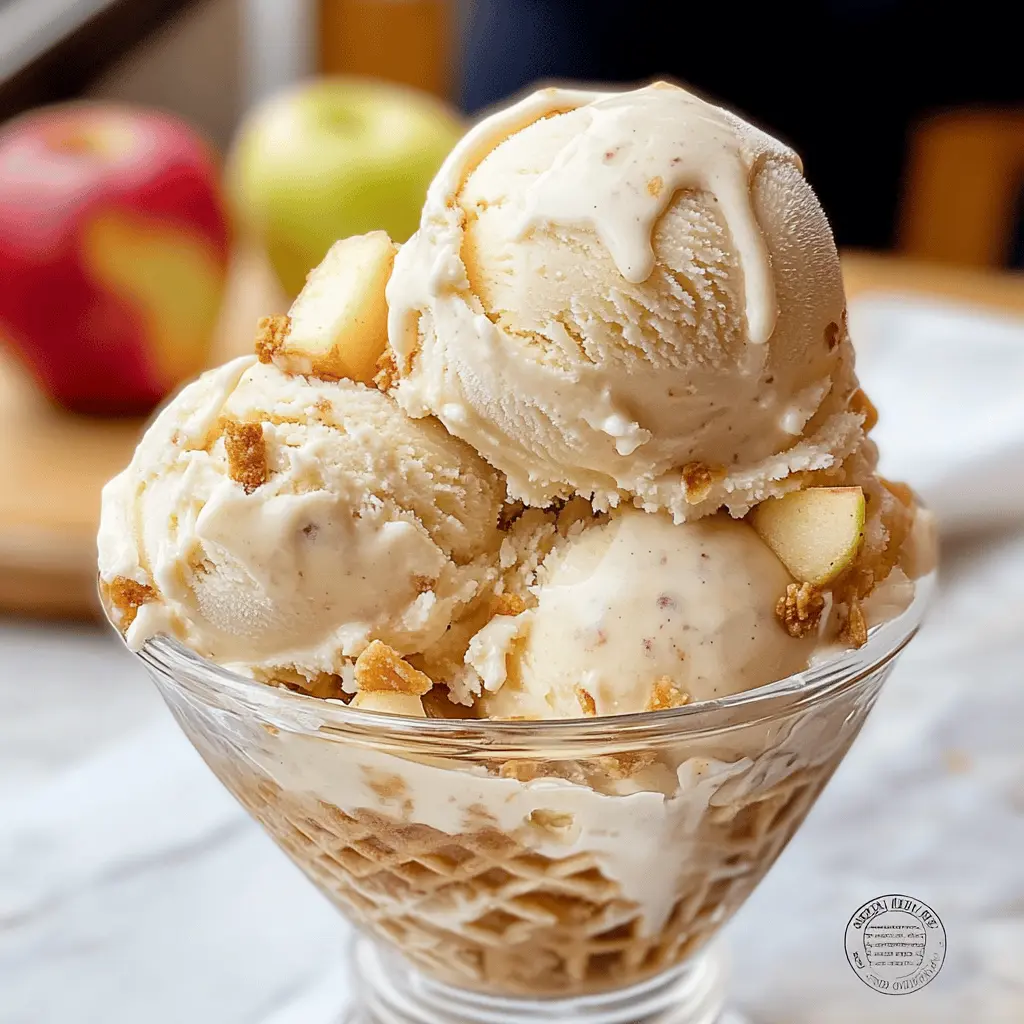
This Easy Homemade Apple Pie Ice Cream is a creamy treat that combines the flavors of apple pie with smooth ice cream. It’s loaded with sweet apples and cinnamon—what’s not to love?
Honestly, it feels like having dessert and ice cream all in one bowl! I often whip up a batch for cozy movie nights. Believe me, you’ll want to keep this recipe close! 🍏🍦
Key Ingredients & Substitutions
Apples: I like using Granny Smith for their tartness, which balances the sweetness of the ice cream. Fuji apples work well too, offering a sweeter flavor. If you want extra crunch, consider adding some diced Honeycrisp apples!
Butter: Unsalted butter is best for cooking the apples because it allows you to control the saltiness in your dessert. You can substitute with coconut oil for a dairy-free option, but it may alter the flavor slightly.
Heavy Cream: This makes the ice cream rich and creamy. If you want a lighter version, you can use half-and-half, but the result will be less creamy. Coconut cream is a great non-dairy substitute that adds a unique flavor!
Granulated Sugar: Instead of granulated sugar, you can use honey or maple syrup for a natural sweetener. Just remember to adjust the quantity to taste, as they are sweeter than sugar.
How Do You Get Creamy Ice Cream Without Ice Crystals?
Getting that smooth, creamy texture is part skill and part technique. Here are some tips to avoid icy ice cream:
- Ensure your ice cream base is well-chilled before churning—overnight is best!
- Churn the mixture until it reaches a soft-serve consistency; don’t skip this part! It adds air that keeps the ice cream fluffy.
- Freeze immediately after churning; keeping it in a pre-chilled container helps maintain the texture.
- Cover the ice cream surface with plastic wrap before sealing to reduce ice crystallization.
Easy Homemade Apple Pie Ice Cream
Ingredients You’ll Need:
For the Apple Filling:
- 2 large apples (such as Granny Smith or Fuji), peeled, cored, and diced
- 2 tablespoons unsalted butter
- 1/4 cup brown sugar, packed
- 1 teaspoon ground cinnamon
- 1/4 teaspoon ground nutmeg (optional)
- 1 tablespoon lemon juice
For the Ice Cream Base:
- 1 1/2 cups whole milk
- 3/4 cup granulated sugar
- 2 cups heavy cream
- 1 teaspoon vanilla extract
- 1/4 teaspoon salt
How Much Time Will You Need?
This recipe will take around 30 minutes of active preparation time, plus 2 hours of chilling and at least 4 hours for freezing. Overall, you should plan for about 6 hours to enjoy your delicious homemade ice cream!
Step-by-Step Instructions:
1. Cook the Apples:
In a medium skillet, melt the butter over medium heat. Add the diced apples along with the brown sugar, cinnamon, nutmeg (if you’d like), and lemon juice. Cook the mixture for about 8-10 minutes, stirring occasionally, until the apples are tender and nicely caramelized. Once done, take it off the heat and let it cool completely.
2. Prepare the Ice Cream Base:
In a medium bowl, whisk together the milk, granulated sugar, and salt until the sugar dissolves completely. This ensures your ice cream will be sweet and creamy!
3. Add Cream and Vanilla:
Next, stir in the heavy cream and vanilla extract into your milk mixture. Make sure everything is fully combined and smooth.
4. Chill the Mixture:
Cover the bowl with plastic wrap and pop it into the refrigerator for at least 2 hours, or ideally overnight if you have the time. This step is crucial for getting a deliciously smooth texture!
5. Churn the Ice Cream:
After chilling, pour the mixture into your ice cream maker. Churn according to the manufacturer’s instructions until it reaches a soft-serve consistency.
6. Add the Apple Pie Filling:
Once your ice cream is churned, gently fold in the cooled caramelized apples. This adds wonderful flavor and texture.
7. Freeze to Firm Up:
Transfer the mixture to an airtight container and freeze for at least 4 hours, or until firm. This waiting part is tough, but oh-so-worth it!
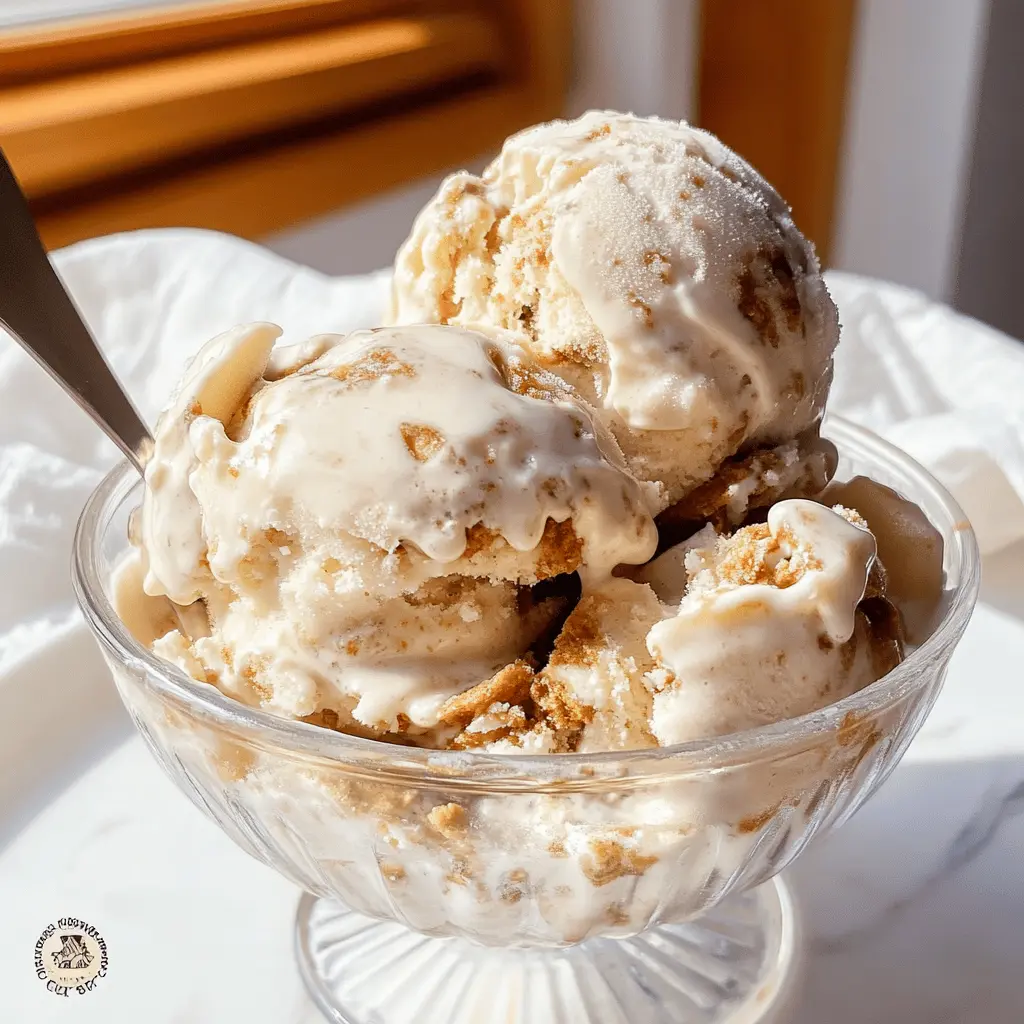
8. Serve and Enjoy:
Scoop your homemade apple pie ice cream into bowls or cones and enjoy! It’s a delightful treat that combines the comforting flavors of apple pie with the creamy goodness of ice cream.
Enjoy your delicious homemade creation, and feel free to share it with family and friends—they’ll be impressed!
FAQ About Easy Homemade Apple Pie Ice Cream
Can I Use Different Types of Apples?
Absolutely! While Granny Smith adds a nice tartness, you can use any apples you prefer. Fuji and Honeycrisp are also great choices for their sweetness and crisp texture. Just be mindful of their sweetness when adjusting the sugar in the recipe!
How Long Does This Ice Cream Last in the Freezer?
Your homemade apple pie ice cream will stay fresh in an airtight container in the freezer for about 2-3 weeks. For the best texture, try to consume it within that time frame because it may become icy after prolonged storage.
Can I Make This Ice Cream Dairy-Free?
Yes! To make this recipe dairy-free, substitute the whole milk and heavy cream with coconut milk or any other non-dairy cream alternatives. Make sure to use dairy-free butter for cooking the apples as well!
What If I Don’t Have an Ice Cream Maker?
No problem! You can still make this ice cream by pouring the mixture into a freezer-safe container and freezing it. Every 30 minutes, stir the mixture with a fork to break up ice crystals until it becomes firm and creamy (about 3-4 hours).