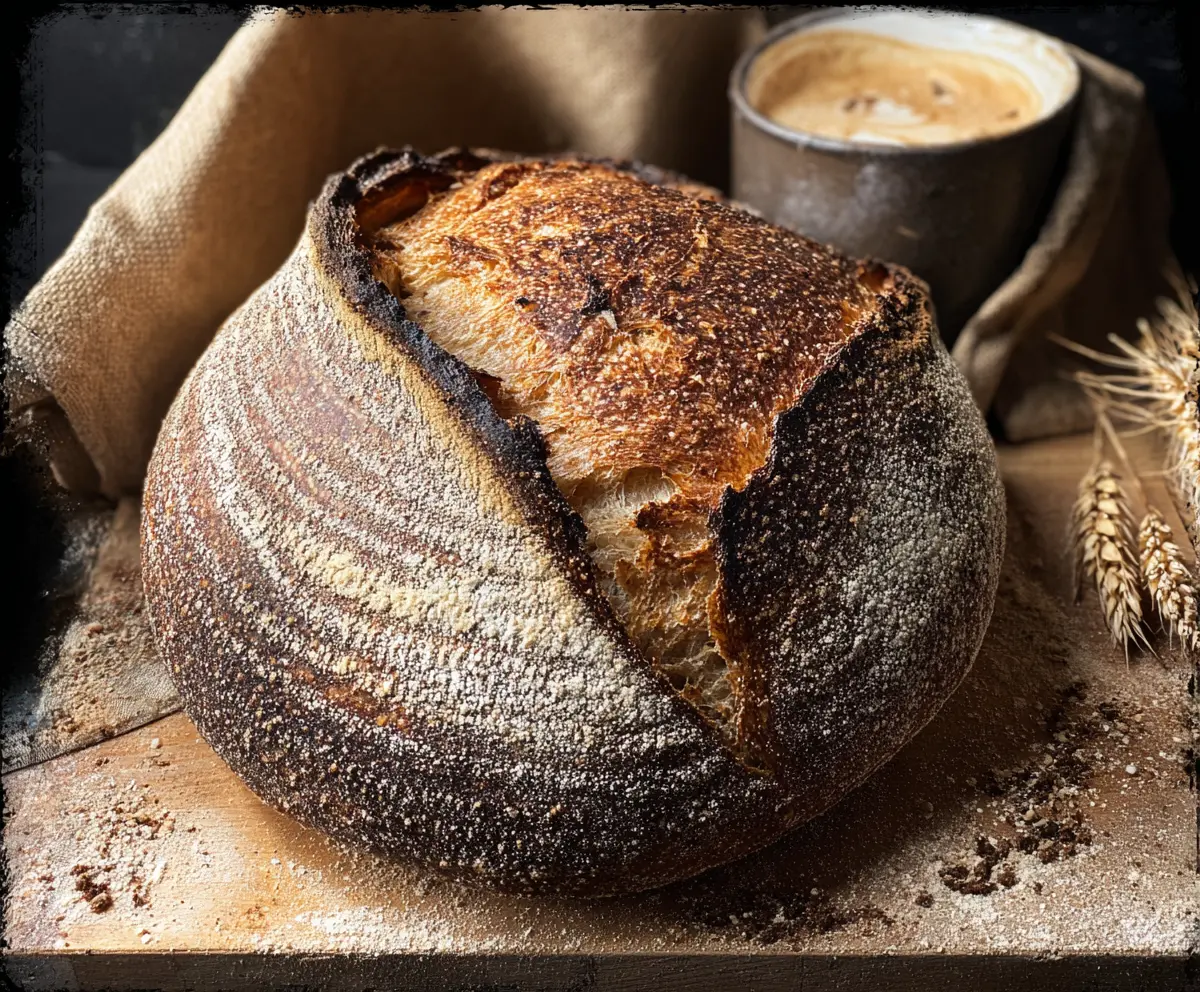
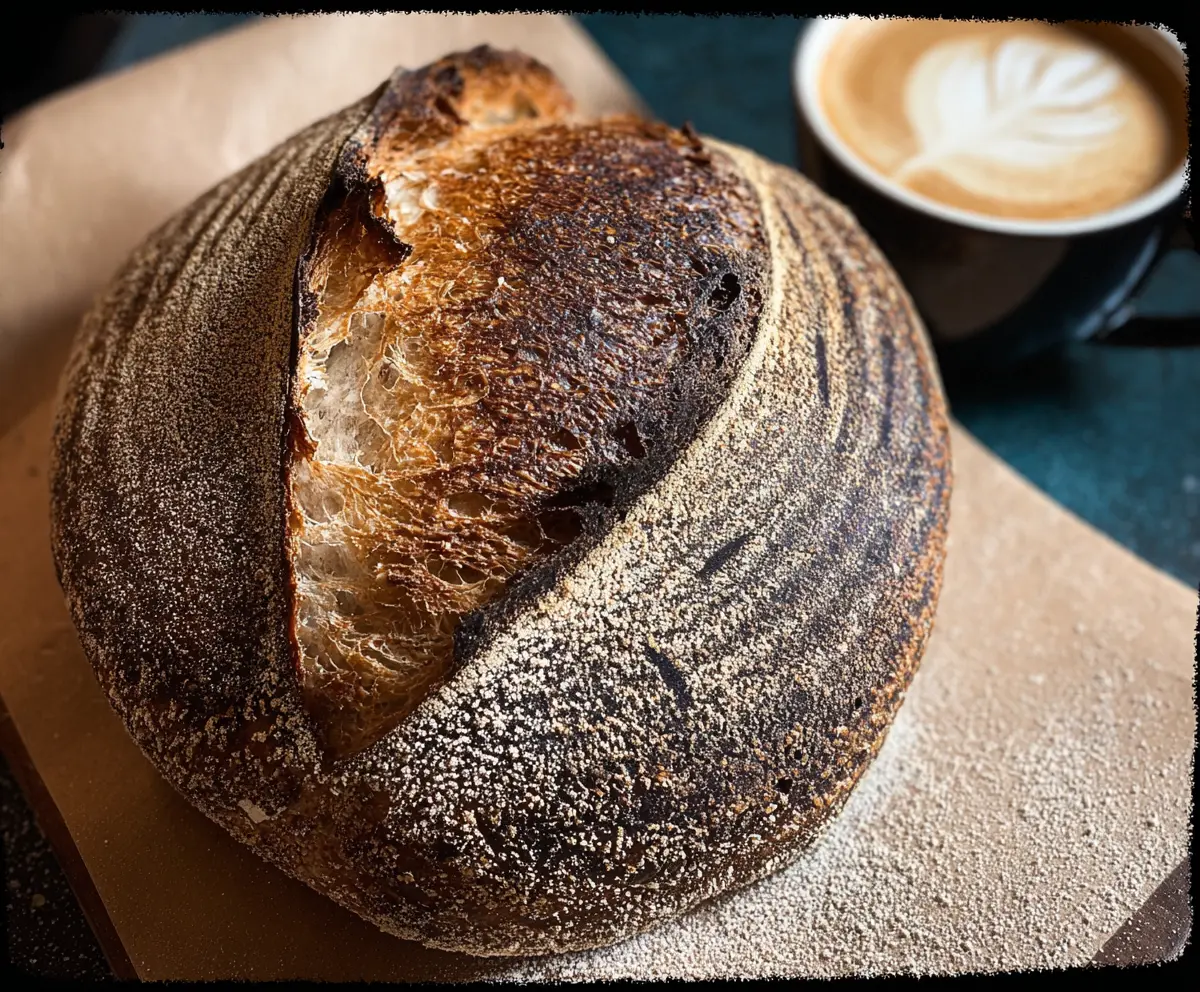
This crusty sourdough bread is the perfect companion for your coffee. With a lovely chewy texture and tangy flavor, it makes every bite a little more special.
All I need is a thick slice and a warm cup of coffee, and I’m in heaven! Plus, making sourdough is a fun little adventure. You’ll feel like a baking pro in no time!
Key Ingredients & Substitutions
Bread Flour: This type has a higher protein content that gives your bread that perfect chewy texture. If you can’t find bread flour, you can use all-purpose flour, but the bread won’t be quite as chewy or rise as well.
Sourdough Starter: A bubbly, active starter is essential for flavor. If you’re new to sourdough, you can buy one or make your own. In a pinch, a store-bought yeast starter can work, but it won’t replicate the unique tang of sourdough.
Salt: Salt enhances the bread’s flavor and controls yeast activity. If you want a lower sodium option, you can use sea salt instead of table salt, though I personally recommend keeping salt in for the best taste!
What’s the Best Way to Develop Gluten in My Sourdough?
The gluten development is critical for a good rise and texture in sourdough. Start with the bulk fermentation, which lasts about 4 to 6 hours. During this time, perform “stretch and folds” to help build the gluten structure.
- Every 30 minutes for the first 2 hours, wet your hand and gently grab the dough from underneath, stretching it upward and folding it over itself.
- This process strengthens the dough, leading to a better crumb and crust. Just be gentle; you don’t want to deflate it!
By following these tips, you’ll create a crusty, flavorful sourdough loaf that pairs beautifully with your morning coffee. Enjoy baking!
How to Make Crusty Sourdough Bread
Ingredients You’ll Need:
- 500g (4 cups) bread flour
- 350g (1.5 cups) lukewarm water
- 100g (about ½ cup) active sourdough starter
- 10g (2 tsp) salt
How Much Time Will You Need?
This sourdough bread recipe takes a bit of time but is well worth it! You’ll need about 30 minutes for mixing and shaping, plus 4 to 6 hours for the bulk fermentation, and an overnight rise in the fridge (8–12 hours). Baking will take around 40–45 minutes. So, overall, it’s a hands-on process, but the result is delicious and satisfying!
Step-by-Step Instructions:
1. Mix the Dough:
Start by combining the bread flour and lukewarm water in a large mixing bowl. Stir everything together until all the flour is fully mixed in, creating a shaggy, sticky dough. Cover your bowl with a clean kitchen towel and let it rest for 30 minutes. This resting period is called autolyse, and it helps hydrate the flour and start gluten development.
2. Add Starter and Salt:
After the dough has rested, add your active sourdough starter and salt into the bowl. Mix well using your hands or a spatula until everything is incorporated, and the dough feels a little smoother.
3. Bulk Fermentation and Stretch & Folds:
Cover the bowl again and let the dough rise at room temperature for about 4 to 6 hours. During the first 2 hours of this rise, perform a series of stretch and folds to build strength. Every 30 minutes, wet your hand to prevent sticking, then reach underneath the dough, stretch it upwards, and fold it over itself. Do this about 4 times, giving your dough a gentle workout!
4. Shape the Dough:
Once your dough has risen and appears bubbly, turn it out onto a lightly floured working surface. Shape the dough into a tight round loaf by folding the edges into the center to create surface tension on top. This helps the bread maintain its shape as it rises.
5. Second Rise:
Now, place your shaped loaf into a floured banneton or a bowl lined with a floured kitchen cloth, with the seam side facing up. Cover it with a towel and refrigerate overnight for 8 to 12 hours. This cold fermentation will develop more flavor!
6. Preheat the Oven and Prepare the Dutch Oven:
The next day, preheat your oven to 240°C (465°F). If you’re using a Dutch oven, place it in the oven to heat up for at least 30 minutes. This step will help get that perfect crust.
7. Bake the Bread:
When your oven and Dutch oven are ready, carefully remove the hot Dutch oven from the oven. Gently turn the dough out onto a piece of parchment paper, seam side down. Use a sharp knife or lame to score the top of the dough (this helps it expand while baking). Carefully lift the parchment and place it in the Dutch oven. Cover and bake for 20 minutes, then remove the lid and bake for another 20-25 minutes until the crust is a deep golden brown and crisp.
8. Cool Before Slicing:
Once baked, carefully remove the bread from the oven and transfer it to a wire rack to cool completely. Allow it to cool for at least 2 hours before slicing; this allows the crumb to set. Enjoy your beautifully crusty sourdough bread with a warm cup of coffee!
Happy baking!
Can I Use All-Purpose Flour Instead of Bread Flour?
Yes! You can substitute all-purpose flour for bread flour, but keep in mind the texture might be slightly different. Bread flour has a higher protein content, which helps develop gluten for a chewier crust. Your bread will still taste delicious!
How Do I Know When My Dough Is Ready to Bake?
Your dough is ready when it has doubled in size and has a domed top that appears puffy. You can also perform the “poke test”: gently poke the surface; if it springs back slowly, it’s ready. If it doesn’t spring back at all, it may be over-proofed.
Can I Skip the Overnight Rise?
You can skip the overnight rise, but this step significantly improves flavor and texture. If you’re pressed for time, allow the second rise at room temperature for 1-2 hours instead, though the flavor might not be as complex.
What’s the Best Way to Store Leftover Sourdough Bread?
To store leftovers, wrap the cooled bread in a clean kitchen towel and place it in a paper bag or a breathable container to keep the crust crispy. For longer storage, slice the bread and freeze it in an airtight bag; it should last for up to 3 months. Thaw slices as needed at room temperature or lightly toast them!