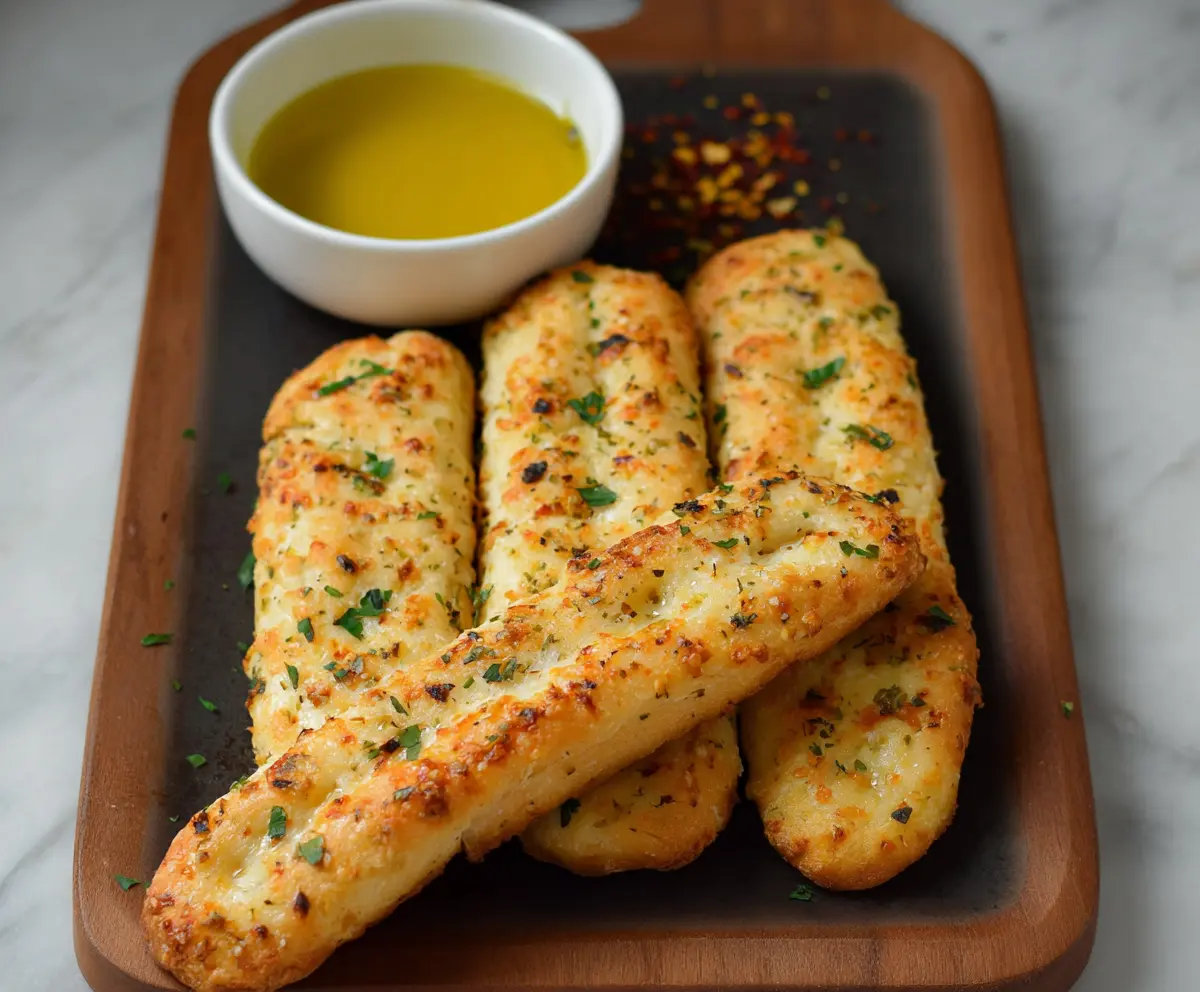
These Cottage Cheese Garlic Breadsticks are soft, cheesy, and totally irresistible! Made with creamy cottage cheese and a hint of garlic, they’re perfect for dipping.
Honestly, who can say no to warm, garlicky goodness? I love serving these with marinara sauce. They’re the perfect sidekick for any meal or just a tasty snack!
Key Ingredients & Substitutions
Cottage Cheese: This is the star ingredient, providing moisture and a pleasant texture. You can use full-fat or low-fat, depending on your preference. If you don’t have cottage cheese, ricotta can be a good alternative, but expect a slightly different texture.
Mozzarella Cheese: It adds that wonderful cheesiness and helps with melting. If you want to try something different, you can substitute with cheddar or provolone, but the flavor will vary a bit.
Garlic: Fresh garlic gives the best flavor. If you’re in a pinch, garlic powder works too, but you’ll need about 1/4 teaspoon to get close to that rich taste.
Flour: All-purpose flour is used for the dough. If you need a gluten-free option, consider almond flour or a gluten-free all-purpose blend, but you may need to adjust the liquid content.
Egg: The egg helps bind everything and gives structure. If you’re vegan or allergic, a flax egg (1 tbsp ground flaxseed + 2.5 tbsp water) would work as a substitute.
How Can I Ensure My Breadsticks Are Soft and Tender?
The key to soft breadsticks is not overworking the dough. After mixing the ingredients, only knead just enough to bring it together. This keeps them tender and fluffy.
- Mix the wet and dry ingredients gently until just combined. Don’t worry about small lumps; they will bake out.
- The dough should be slightly sticky but manageable. Use flour for dusting your surface while shaping to prevent sticking.
- When rolling into sticks, avoid adding too much flour; this can make the breadsticks tough. Lightly flour only as needed.
Following these tips will help you create delightful Cottage Cheese Garlic Breadsticks that are light and fluffy! Enjoy them warm with your favorite dip!
Cottage Cheese Garlic Breadsticks
Ingredients You’ll Need:
For the Dough:
- 1 cup cottage cheese (full fat or low fat, drained)
- 1 ½ cups all-purpose flour (plus extra for dusting)
- 1 cup shredded mozzarella cheese
- 1 tsp baking powder
- 2 cloves garlic, minced
- 1 tsp dried Italian herbs (or a mix of oregano, basil, thyme)
- 1 tsp salt
- 1 egg
- 2 tbsp olive oil
For the Topping:
- Fresh parsley, chopped (for garnish)
- Olive oil or melted butter (for brushing)
- Optional: red pepper flakes (for serving)
How Much Time Will You Need?
This recipe will take about 10 minutes of prep time and around 15-18 minutes of baking time. All together, you’re looking at roughly 30-35 minutes to have the most delightful breadsticks ready to enjoy!
Step-by-Step Instructions:
1. Preheat the Oven:
Start by preheating your oven to 400°F (200°C). Line a baking sheet with parchment paper or give it a light grease to prevent sticking. It sets the stage for perfectly baked breadsticks!
2. Mix the Wet Ingredients:
In a large mixing bowl, combine the cottage cheese, shredded mozzarella cheese, and the egg. Mix it up well until everything is smooth and creamy. This cheesy mixture is what makes the breadsticks so delicious!
3. Combine the Dry Ingredients:
In another bowl, whisk together the flour, baking powder, salt, minced garlic, and dried Italian herbs. This is the dry mix that will create the structure of your breadsticks.
4. Form the Dough:
Gradually add the dry mixture into the cheese mixture, stirring gently until a dough begins to form. It might be a bit sticky, and that’s okay—this is a key part of ensuring they come out soft!
5. Knead and Divide the Dough:
Lightly flour a flat surface and gently knead the dough a few times, just until it comes together smoothly. Then, divide the dough into 8 equal pieces—these will become your breadsticks.
6. Shape the Breadsticks:
Roll each piece into a breadstick shape about 6-7 inches long, placing each one on your prepared baking sheet. They should look like cute little logs of garlic goodness!
7. Brush for Flavor:
Brush the tops of each breadstick lightly with olive oil or melted butter. This adds a lovely flavor and helps them turn golden brown in the oven.
8. Bake Away:
Slide the baking sheet into the oven and bake for about 15-18 minutes. You want them to be golden brown on top and fully cooked through. Your kitchen will smell amazing!
9. Garnish:
Once baked, remove the breadsticks from the oven. While they’re still warm, sprinkle on some chopped fresh parsley and, if you like, a bit more garlic powder or Italian herbs for extra flavor.
10. Serve and Enjoy:
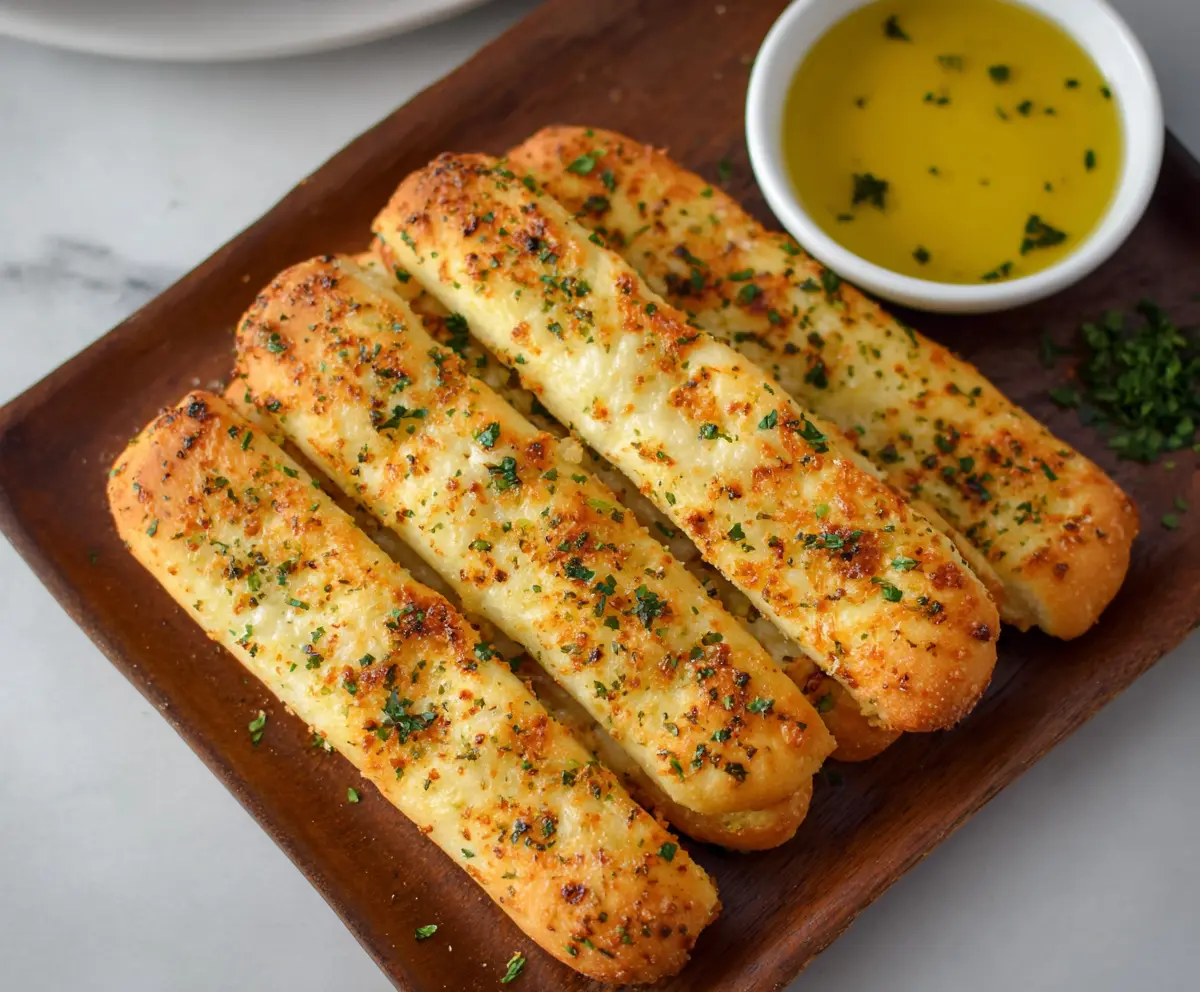
These breadsticks are best when warm! Serve them with a side of olive oil mixed with crushed red pepper flakes for dipping, or alongside marinara sauce for a classic touch.
Enjoy your soft, cheesy Cottage Cheese Garlic Breadsticks with a crispy golden top and delightful garlic flavor!
Can I Use Low-Fat Cottage Cheese?
Yes, low-fat cottage cheese works well in this recipe! It will still provide the creaminess needed while reducing the fat content. Just make sure to drain it well before using.
How to Store Leftover Breadsticks?
To store leftovers, place them in an airtight container at room temperature for up to 2 days. For longer storage, you can freeze them in a freezer-safe bag for up to 3 months. Just reheat in the oven for about 10 minutes to bring back that fresh-baked taste!
Can I Add Different Herbs or Spices?
Absolutely! Feel free to customize the flavor by adding herbs like rosemary, thyme, or even some crushed red pepper for a kick. Get creative with your favorite spices!
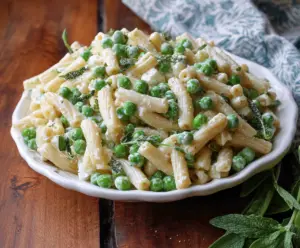
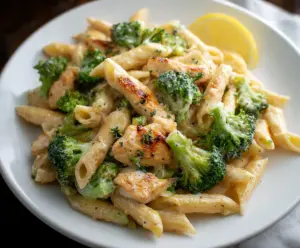
What Should I Serve with These Breadsticks?
These breadsticks pair wonderfully with marinara sauce for dipping, but you can also serve them with garlic butter or a side of olive oil mixed with herbs for drizzling. They make a great side for pasta dishes, soups, or salads, too!