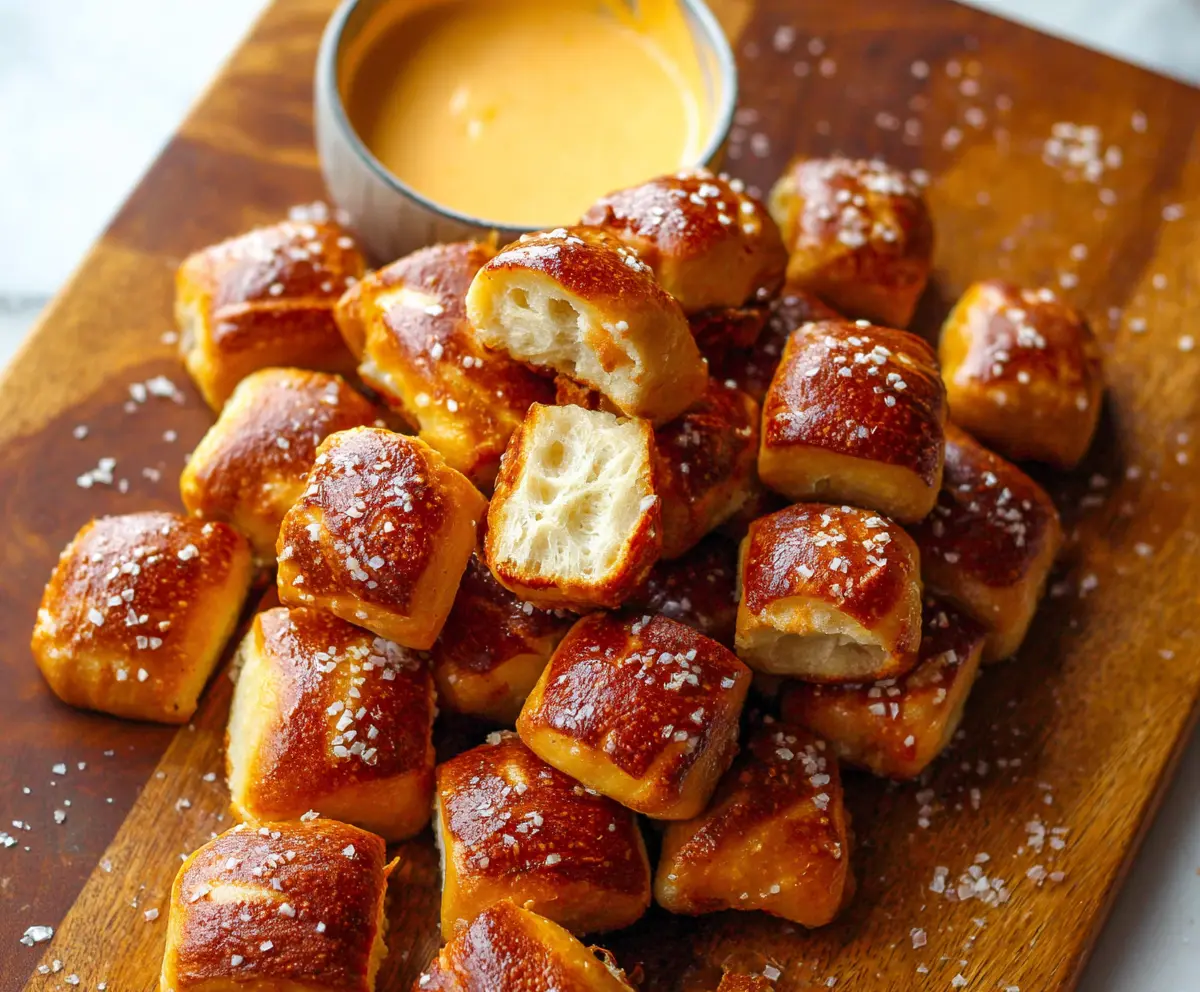
These buttery soft pretzel bites are the perfect snack! With a golden-brown crust and a chewy inside, they are so fun to pop in your mouth. Plus, who can resist that buttery flavor?
Pair them with some cheese dip or mustard for an extra treat—yum! I love making these little bites for movie nights; they always disappear quickly. 🎬🍿
Key Ingredients & Substitutions
Warm Water: This activates the yeast, ensuring your pretzels rise well. If you want to switch things up, you can also use milk for a slightly richer flavor. Just make sure it’s warm, not hot, to avoid killing the yeast!
Active Dry Yeast: This is crucial for making the dough rise. If you’re out of it, you can substitute with instant yeast—just use the same amount and mix it directly into the flour without proofing.
All-Purpose Flour: It gives the dough its structure. If you want to try something healthier, you can mix in whole wheat flour, but it might change the texture a bit. Don’t worry, it’s still tasty!
Baking Soda: This is used in the boiling process to give the pretzels their classic brown color and chewy texture. If you’re in a pinch, a small amount of baking powder can work, but it won’t give you the same results.
Butter: Melting it enhances the flavor of your pretzel bites. You can use coconut oil or even olive oil if you’re dairy-free. Just note that it may slightly change the flavor.
How Do I Achieve That Perfect Chewy Texture?
The boiling step is what makes these pretzel bites chewy and gives them that iconic crust. Here’s how to get it just right:
- Bring your water and baking soda to a rolling boil in a large pot. The baking soda makes the water alkaline, which is key for texture.
- Drop the pretzel bites into the boiling water, making sure not to overcrowd the pot. Boil for exactly 30 seconds to maximize that chewy texture.
- Remove them using a slotted spoon and allow any excess water to drain before placing them on a baking sheet.
Getting this boiling step right is vital for those soft yet chewy bites everyone loves! Enjoy your pretzel-making adventure!

Buttery Soft Pretzel Bites
Ingredients:
- 1 1/2 cups warm water (110°F/45°C)
- 2 1/4 teaspoons active dry yeast (1 packet)
- 1 tablespoon granulated sugar
- 4 cups all-purpose flour
- 1 teaspoon salt
- 10 cups water
- 2/3 cup baking soda
- 4 tablespoons unsalted butter, melted
- Coarse sea salt, for sprinkling
- Optional: Cheese sauce or mustard for serving
How Much Time Will You Need?
This recipe takes about 15 minutes to prepare, plus 1 hour for the dough to rise, and then about 12-14 minutes for baking. So, in total, you’re looking at around 1 hour and 30 minutes to enjoy these warm, buttery bites!
Step-by-Step Instructions:
1. Prepare the Yeast Mixture:
In a large bowl, mix the warm water, active dry yeast, and granulated sugar. Let it sit for about 5 minutes until it becomes frothy—this shows that the yeast is alive and ready to do its work!
2. Make the Dough:
Add the all-purpose flour and salt to the yeast mixture. Using a wooden spoon, stir until it forms a dough. It might seem a bit sticky, but that’s normal!
3. Knead the Dough:
Turn the dough out onto a lightly floured surface. Knead it for about 5-7 minutes, until it’s smooth and elastic. If it’s too sticky, sprinkle a bit more flour on the surface as you knead.
4. Let the Dough Rise:
Place the kneaded dough into a lightly oiled bowl and cover it with plastic wrap or a damp towel. Let it rise in a warm place for about 1 hour, or until it has doubled in size. Patience is key here!
5. Preheat the Oven:
While the dough is rising, preheat your oven to 450°F (232°C). Line two baking sheets with parchment paper and lightly oil them. This will help prevent your pretzel bites from sticking.
6. Boil the Water:
In a large pot, bring 10 cups of water and the baking soda to a rolling boil. Be careful—this mixture can foam up, so keep an eye on it!
7. Shape the Pretzel Bites:
Once the dough has risen, turn it out onto a floured surface and divide it into 6 equal pieces. Roll each piece into a long rope, about 24 inches long. Then cut each rope into 1 to 1 1/2 inch pieces to form your pretzel bites.
8. Boil the Pretzel Bites:
Carefully drop the pretzel bites into the boiling baking soda water, about 10-12 at a time. Boil each batch for 30 seconds, then remove them using a slotted spoon and place them on the prepared baking sheets. This step is crucial for that amazing texture!
9. Add Toppings:
Brush each pretzel bite with the melted butter and sprinkle with coarse sea salt. This will give them that beautiful flavor and shiny finish.
10. Bake:
Place the baking sheets in the oven and bake for 12-14 minutes, or until the pretzel bites are golden brown and delicious-looking!
11. Final Touch:
Once baked, brush the pretzel bites again with melted butter for extra flavor. Trust me, it’s worth it!
12. Serve and Enjoy:
Serve your pretzel bites warm with cheese sauce or mustard for dipping. Enjoy the buttery, salty goodness that everyone will love!
Happy snacking! 🥨
Can I Use Instant Yeast Instead of Active Dry Yeast?
Absolutely! You can use the same amount of instant yeast without needing to proof it first. Just mix it directly into the flour and proceed with the recipe as usual!
What If My Dough Doesn’t Rise?
If your dough doesn’t rise, it could be due to inactive yeast. Make sure your water is warm (not hot) when activating the yeast. If you suspect it’s too old, it’s best to use fresh yeast for better results.
How Do I Store Leftovers?
Store any leftover pretzel bites in an airtight container at room temperature for up to 2 days. For longer storage, you can freeze them! Just ensure they’ve cooled completely before freezing. Thaw at room temperature and reheat in the oven for a few minutes.
Can I Make This Recipe Gluten-Free?
Yes! You can substitute the all-purpose flour with a gluten-free flour blend meant for baking. Make sure it contains xanthan gum for the right texture, or add it separately according to package instructions.